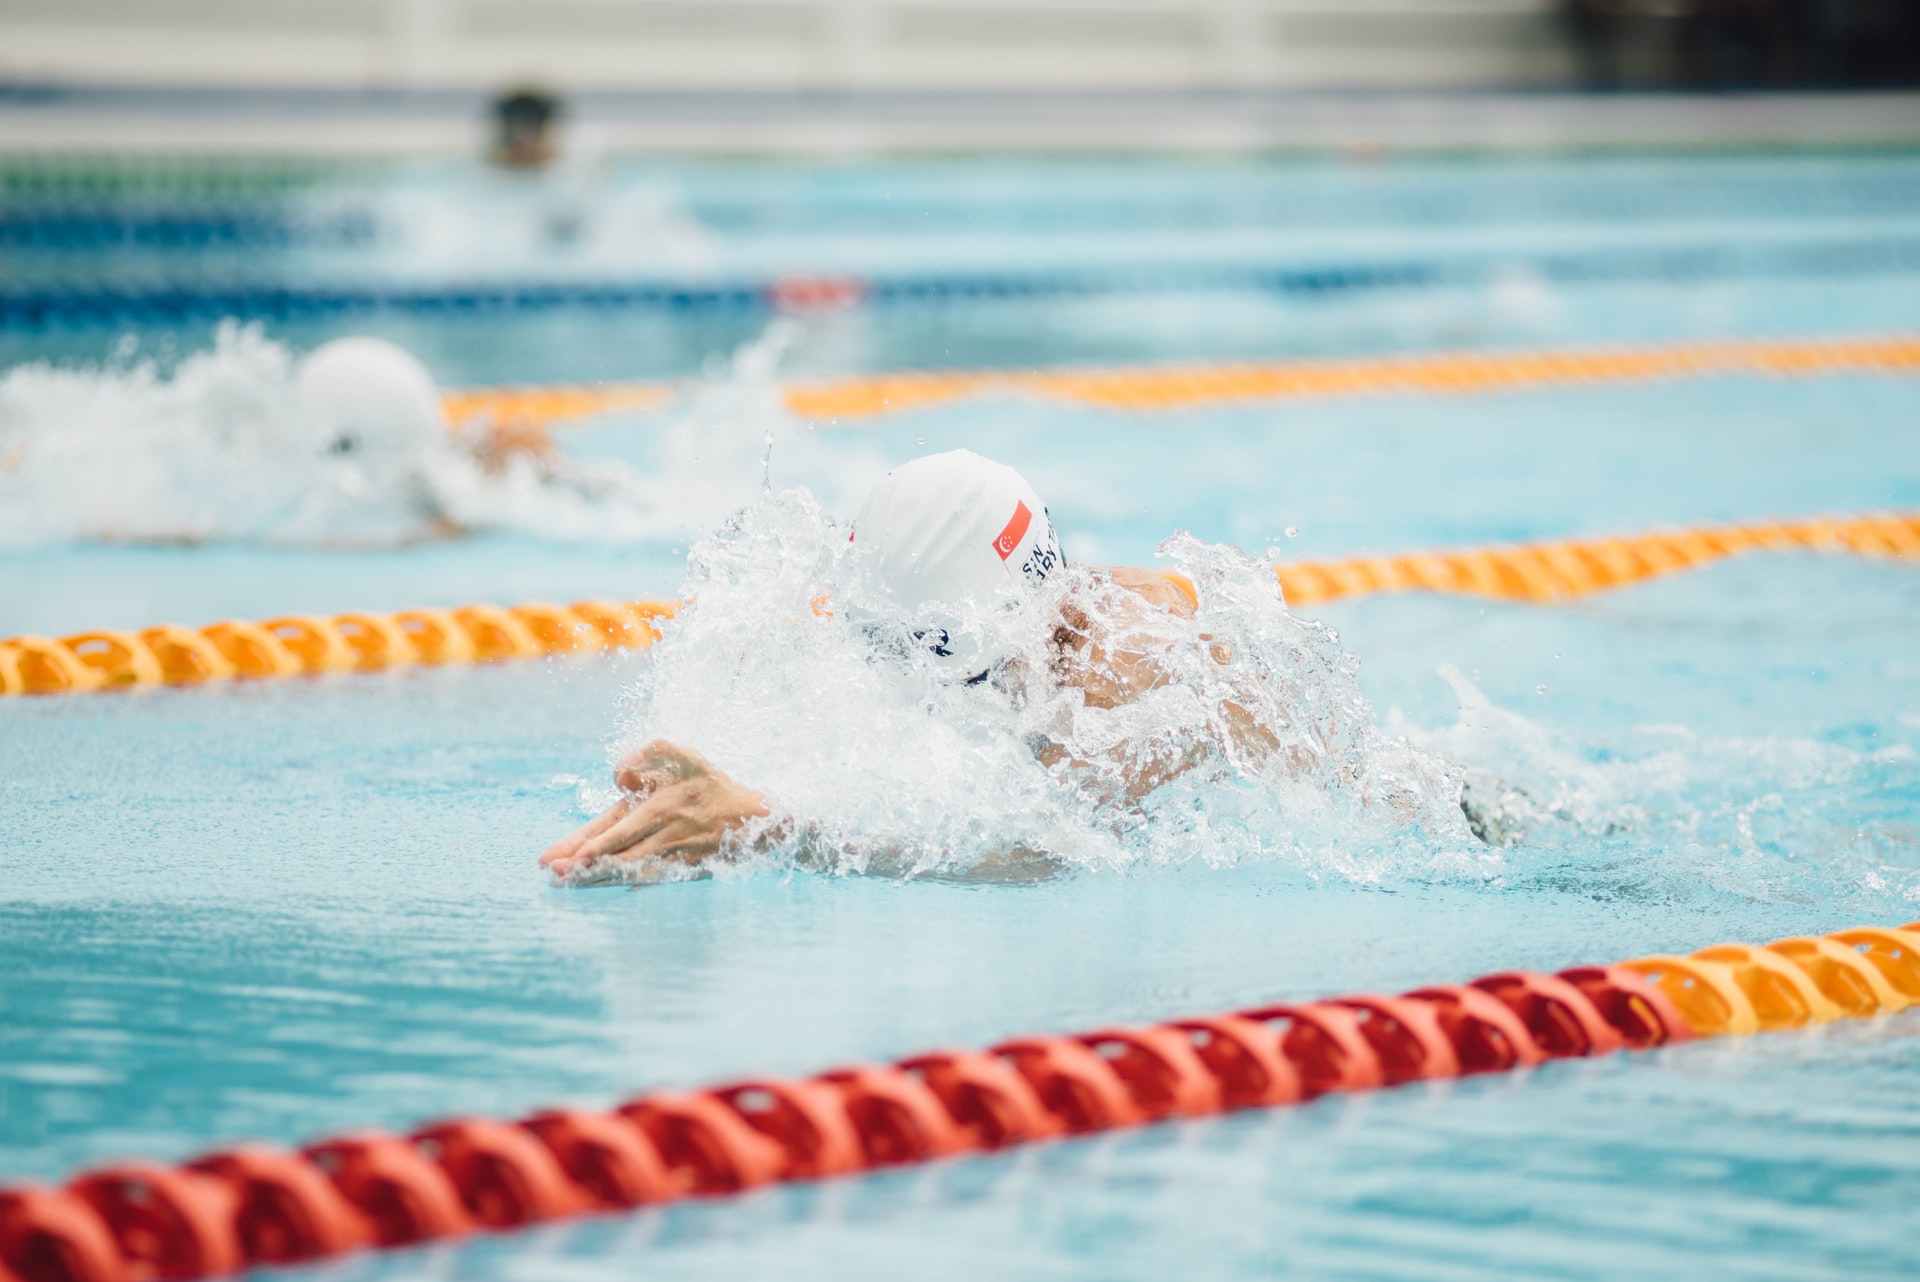
When it’s time to get in shape, going to the pool might not be the first thing that comes to mind, but it should be. You’ll boost your metabolism, firm up your entire body, and burn up to 400 calories in an hour without placing too much strain on your joints (or melting into a puddle of sweat). But you’ll need to know the right form and technique to get the full benefits. There are a few typical swimming errors we’re all guilty of, regardless of whether you’re a complete beginner or wanting to brush up on your skills. You’ll soon be swimming laps with the best of them if you put these professional advice into practice.
The Top 8 Beginner Swimming Errors and How to Avoid Them!
Your first – is holding your breath.
Many of us are instructed to take a big breath, hold it, and put our faces in the water when we are young or first learning to swim with female swimming coaches, according to Scott Bay, chair of the coaches committee for U.S. Masters Swimming and an ASCA Level 5 certified Masters swim coach. But when you do that, you burn oxygen for fuel. If you had to run a 5K, would you hold your breath and continue running? No, since it deprives your muscles of oxygen they desperately need.
How to correct it Practice on dry land first. Inhale deeply through your mouth, then begin to let out air through your nose slowly. Bay advises, “Hum, as you do.” He advises humming while exhaling through your nose to keep a steady tempo because you’re compelled to breathe slowly rather than quickly. The next step is to breathe underwater. When you’ve inhaled and have your face in the water, practice slowly exhaling through your nose once more, and then raise your face out of the water when it feels right.
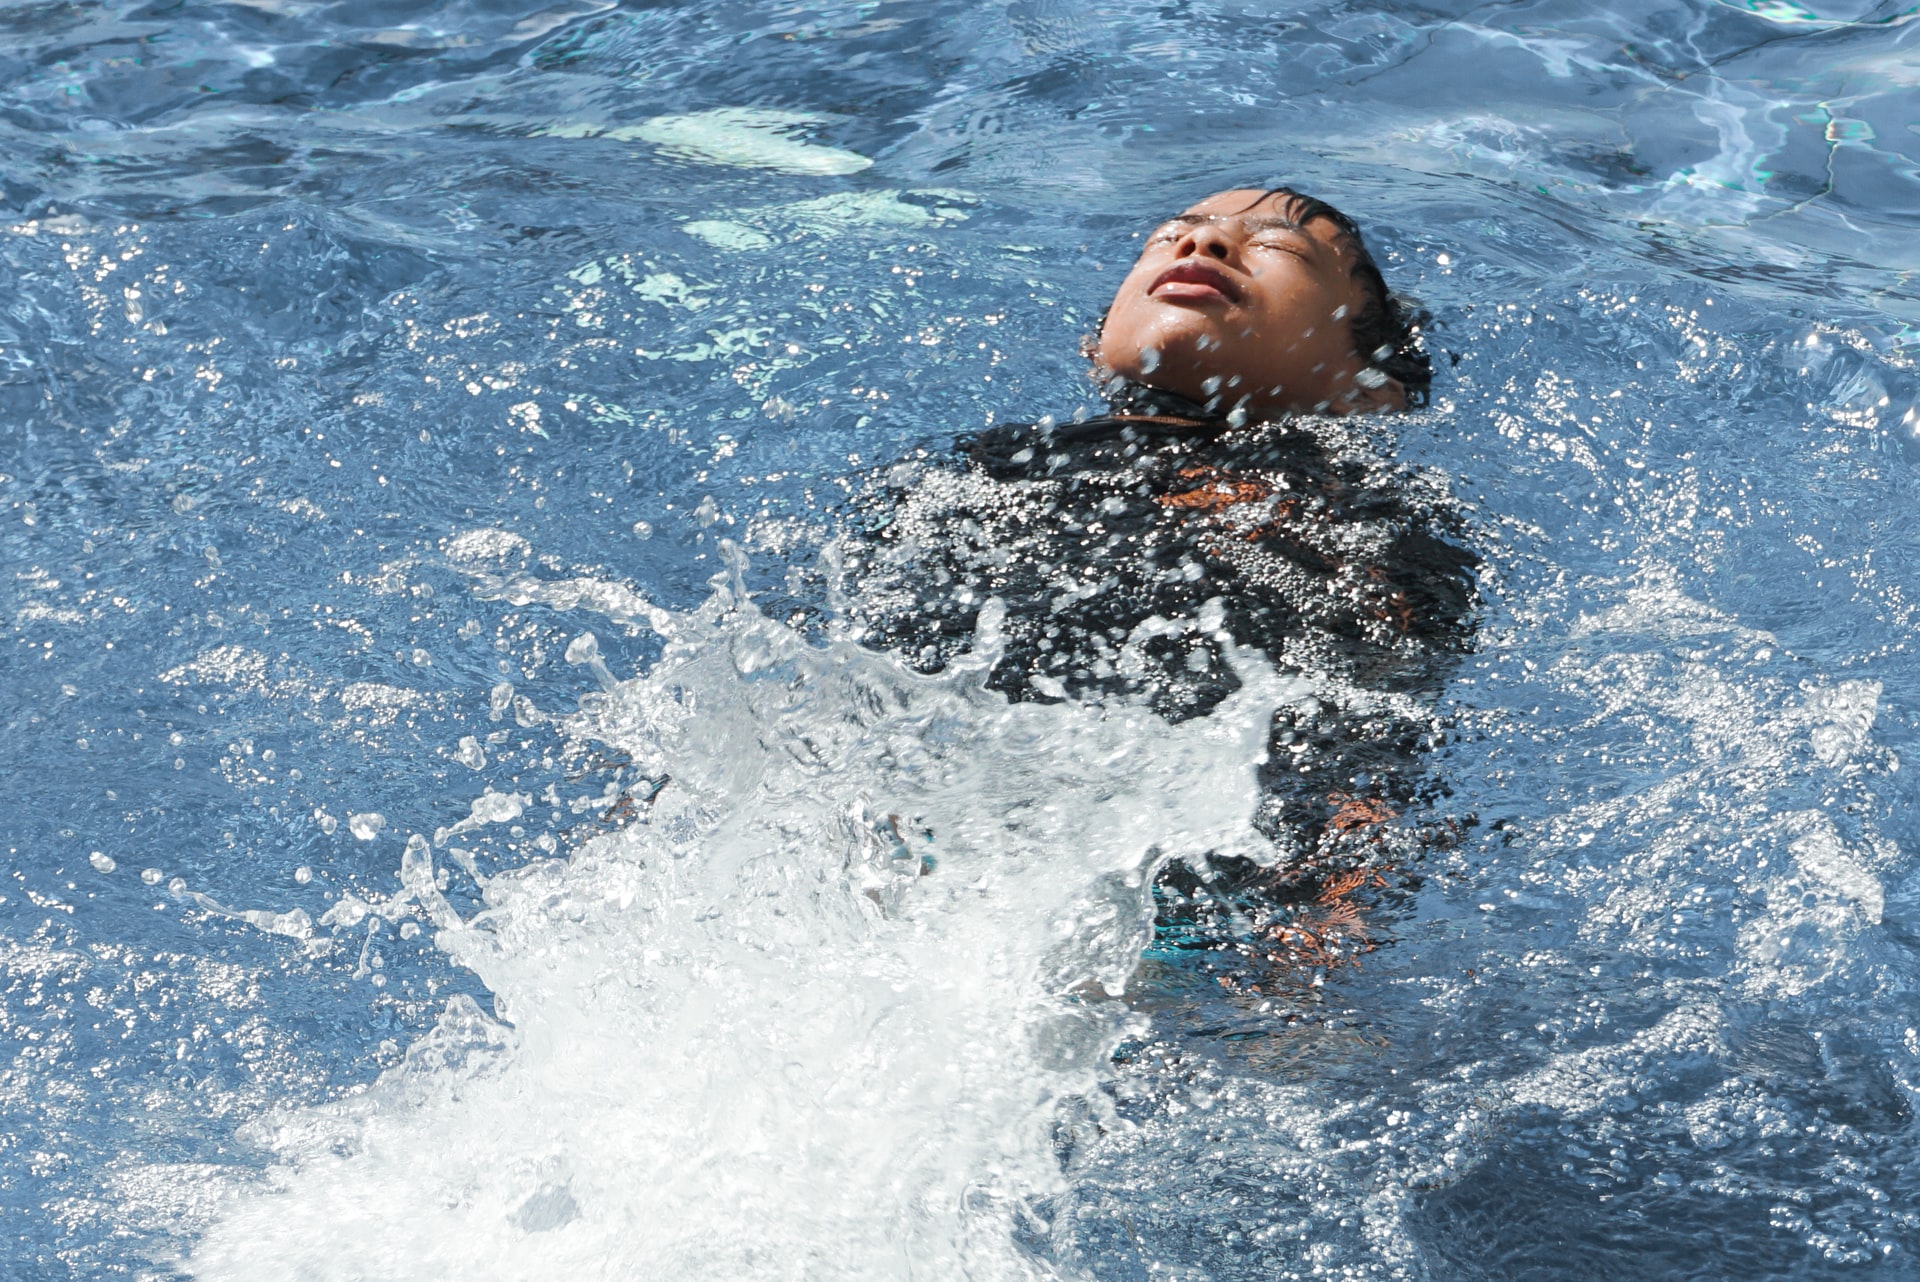
The second is removing your head from the water to breathe.
It may seem counterintuitive, and we agree. How are you supposed to breathe if you don’t raise your head out of the water? Let’s be clear: Lifting your face out of the water while maintaining your head in the water is more important. Your body’s alignment is thrown off if you raise your head every time you need to breathe. According to Linsey Corbin, a CLIF triathlete and five-time Ironman champion, doing so will frequently result in you pushing your hips down into the water, which is the exact opposite of what you want and turns your straight swim into a zig-zag.
Focus on keeping your head down and your chin tucked under your neck to repair it, advises Corbin. When you need to breathe, keep your head in the water and breathe to the same side as the arm that is out of the water (imagine rotating your head just enough to make your mouth open for air, but no more).
 Third – You let your hips to sag.
More drag is produced in the water by doing this. Additionally, more drag results in more resistance, which slows you down. Instead of falling into the water, Corbin says the objective is to “remain flat and float on top of the water.” Beginners sometimes default to actions that pull their hips down, like as letting their feet dunk when they should be just below the water’s surface, making their bodies work harder to go from point A to point B.
Purchase a swim snorkel, or use the one you packed for your most recent trip to the Caribbean, advises Corbin. By using a snorkel, you can stop paying attention to your side breathing, according to the speaker. Instead, concentrate on drawing through the water with your arms, breathing out steadily, and keeping your hips as high as possible. Use it in practice a couple of times each week to perfect your form before moving on to more difficult exercises like accelerating the pace and speed drills.
Fourth – you maintain a straight hip.
Not rotating the hips is another issue. Many swimmers use their legs or upper body to move through the water. The majority of your strength comes from your hips because they are responsible for both your upper and lower body movement, according to Corbin.
Start by using visualization as a solution. With each stroke, visualize opening your belly button to the pool walls, and focus on rotating with your core muscles, advises Corbin. Utilizing your core will enable you to move through the water more quickly by rotating your trunk.
Corbin advises practicing the motion by lying on your side with your belly button toward the wall and your bottom arm raised above so that your head rests on that arm. Follow it for a lap before switching sides. You will acquire accustomed to how your hips feel during full rotation as a result of the exercise, which will assist you determine when to begin rotating in the opposite direction. Holding the side position for a few seconds in between each stroke and switching back and forth the entire length of the pool will make it more difficult.
You make error #5 by pointing your toes.
As it’s simple to overlook the tiny fellas at the end of your foot, Bay claims that this is a frequent error. But according to him, they are important in deciding your speed and direction, and flexing them all the way out “is like kicking and not going anywhere because it tightens up your ankles,” he explains. In the water, swimmers really want to have loose, flexible ankles as it helps them move more quickly.
How to correct that, advises Bay, is to simulate picking up a cent off the floor by curling your toes. It allows you to put your foot in the proper position while keeping your ankles flexible. Even outside of the pool, practicing with your toes will help you become more comfortable with how they feel curled up is a good idea. Put a pile of pennies on the floor next to a small bowl and practice moving the pennies there.
Better form is enforced by swimming quickly rather than slowly.
You overuse your upper body, which is mistake number six.
Remember that swimming works your entire body, advises Corbin. “Most folks make the error of thinking it’s merely an upper body workout,” However, if you rely solely on your shoulders, arms, and lats to perform the heavy lifting, you run the risk of not fully finishing a stroke, which will slow down how swiftly you cut through the water.
The solution, according to Corbin, is to maintain a consistent balance throughout your workout between your upper body, core, and lower body rather than overcompensating in one of those areas. Use your core to rotate in the water, your arms to pull your body through the water, and your legs to kick, which will propel you ahead. She advises practicing kick drills on a kick board a few times per week if you discover that one part of your body is weak, like the lower body. Don’t be scared to exercise your strength on the deck as well. Good day, squats.
 Seventh – You don’t complete your stroke.
In an effort to begin a new stroke more quickly, Bay laments that many swimmers lift their hand out of the water before it reaches their hip. “However, that seems counterintuitive. By not extracting the most energy out of the work you just completed, you are doing yourself a disservice.
How to correct it Simply said, complete the task that you began. According to Corbin, as you swim, visualize your forearm as a huge paddle that will propel water backward as you move forward. Keep your elbow up and propel your forearm into the water while rotating your elbows as your hand enters the water (avoid crossing your arms over to the opposite side of your body). Push the water back until it reaches your hips, at which point you can start the “recovery” phase of the stroke by pulling your arm out of the water and starting a new stroke.
Mistake #8 – You spend a lot of time practicing swimming slowly.
As a beginner swimmer, going slowly and steadily has its place, but Corbin claims that the issue arises when you stick to your routine of casually logging laps. Because you’re only concerned with going from point A to an extremely far point B, you may eventually get lax about form.
Start doing speed drills to fix it. Corbin asserts that swimming quickly promotes greater form than swimming slowly. Try swimming for time, rather than distance, two or three times per week. Websites and apps like Speedo Fit and USA Swimming offer quick, enjoyable workouts that help you concentrate on form. Or, have a look at these three exercises, one for each skill level. Not yet prepared to enter the fast lane? A few one-on-one or group sessions can also be quite beneficial.